
So when my friend Sonia bought a gelli plate and invited me over to play, I went with hesitation. Now I can't get enough. We use the cheap acrylic paint (less and $1 bottle at Michael's), a brayer and a gelli plate from gelliarts.com. For paper, we often use the white B side of paper that we hoarded and now no longer like. (Reduce, reuse, recycle!!)In addition- we add masks/templates to get cool designs and mists to add more color.
Usually when creating, I just start mixing colors that call to me, with no photo or page in mind.
Here are some the the papers I made turned into scrapbook pages. There was no rhyme or reason to the colors or design as I painted, brayed/rolled, lifted, added more paint and lifted again.


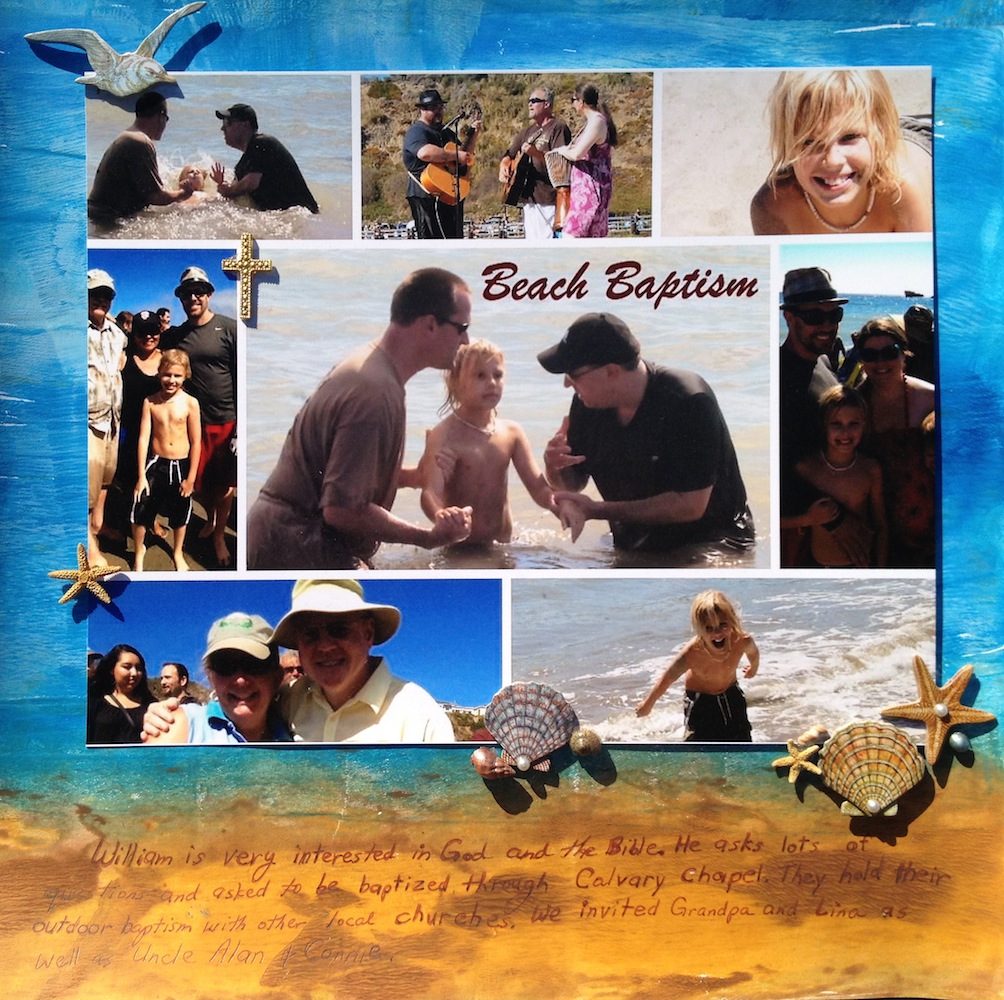
This page I specifically selected to colors to look like the beach, since I was running low on beach themed paper. So I made my own. I LOVED how it turned out! This is just various paint and a brayer on gelli. I let the sandy colors mix with the blues to look like the horizon.
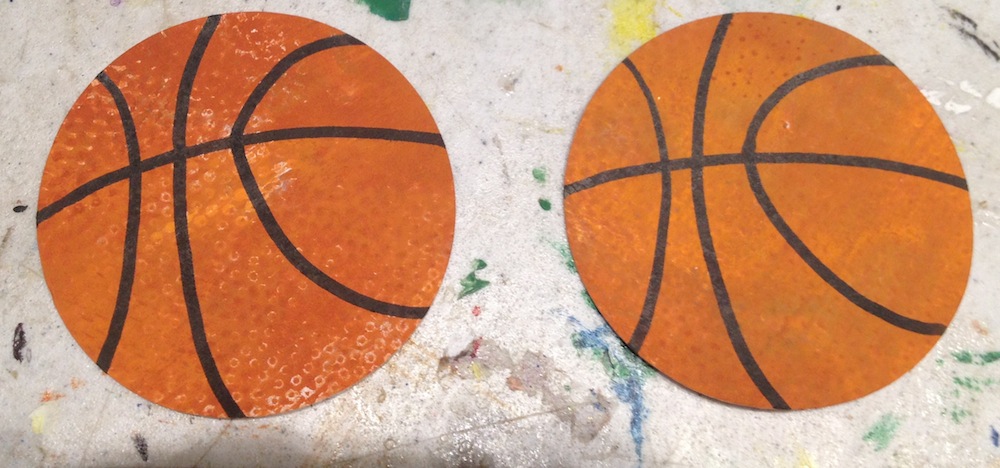
In a swap I participated in, I needed some additional "sports" embellishments. I had seen at Big Lots some dimpled orange paper but when I went back for it, it was gone. So I used yellow, orange and brown for a base, then used a circle stamp over for that dimple look. After I circle cut with my old trusty Creative Memories circle cutter, I hand draw black lines to make it look like a basketball.
This I did intend for a general "nature" page. I used leafy colors like green, yellow and brown. You can even see the subtle stamping of leaves on the background.

The new thing I did with the starburst paper here was to use preprinted paper. Instead of using the white side of a paper I no longer wanted, I found a paper with a white background and very subtle pink strips. But gelli printing a mix of yellow over this print, you could still see touches of the strips seeping through. I then used a template and green mist to get the rays.

These next two pages came from the same paint. The first was just the swim paper with green and blue. Then I added a template over and lifted the excess paint from between the template openings to get the paper on the summer page.


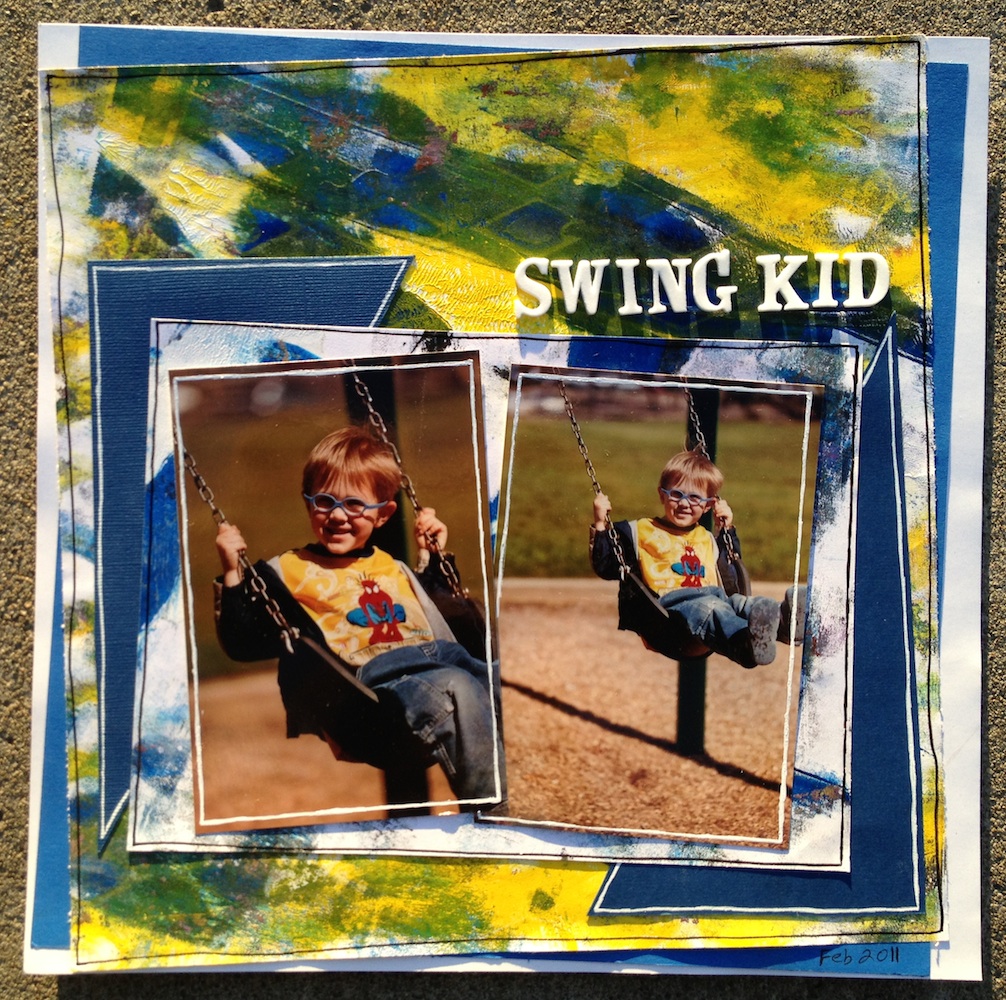
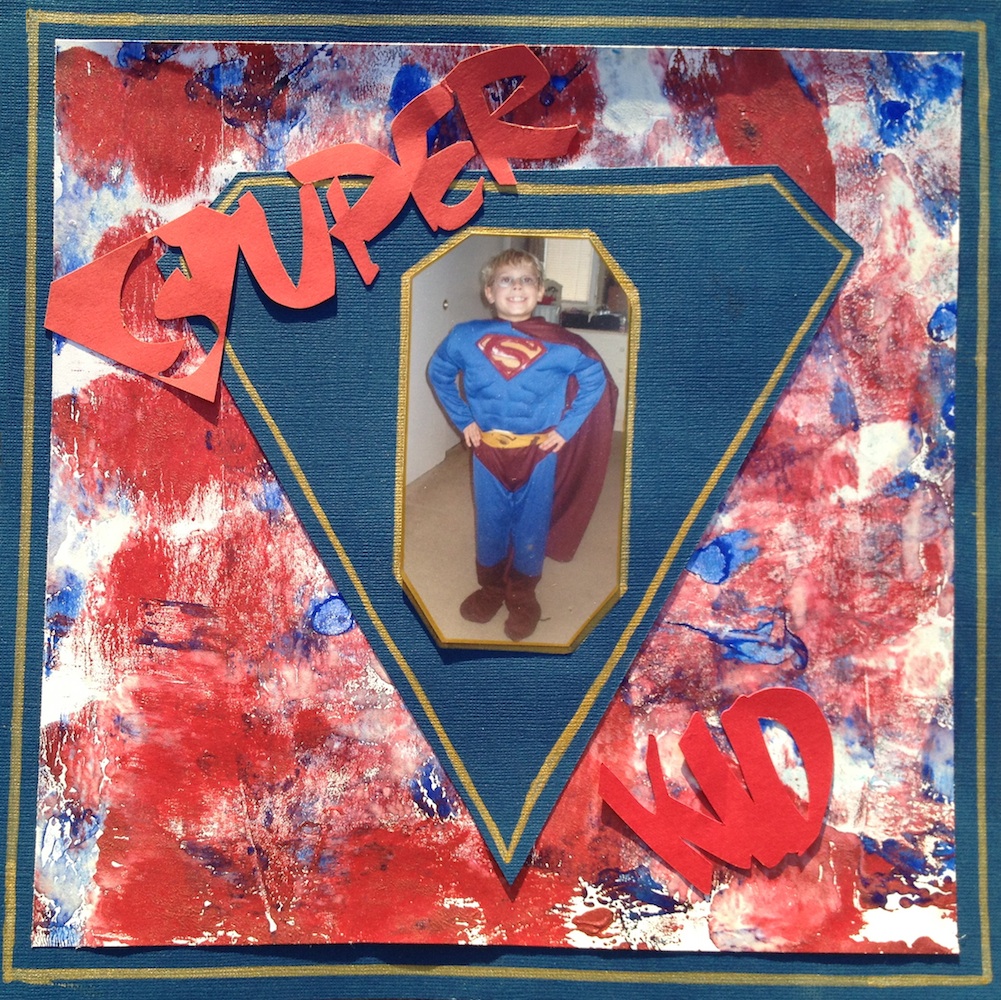
This blue and yellow paper was a bit busy after I gelli'ed it. As was the red and blue. I found some pictures that coordinated and made it work.
I like the natural look of the teal and blue and green paper along the bottoms but only had one piece. I wanted it for a 2 page spread. By using it only on the lower half of the page, I was able to get gelli goodness across 2 pages.


Those look like a lot of fun!!
ReplyDeleteYou are a gelli plate Super Star! :)
ReplyDeleteGotta love those Gelli plate prints - fun no matter how you do them, or use them!
ReplyDeleteNew to Scrapbooking.....F U N ideas!!!! (Y)
ReplyDelete