Thursday, August 23, 2012

Trendy Tape- Washi Tape

Have you played with Washi Tape yet? It is a trend from Japan that is now a hit in the US.

Here is my favorite Washi Tape page I've done so far.
At a crop, my friend Melissa brought a bag of Washi Tape and Trendy Tape for me to try out. And experiment I did! At first, I didn't know how to make this a strong, masculine page since the background had the pretty pink blossoms. It was throwing me off. But by making it simple and embellishing with only more masculine colored tapes, I got the effect I wanted. And it was fun!

SWEET

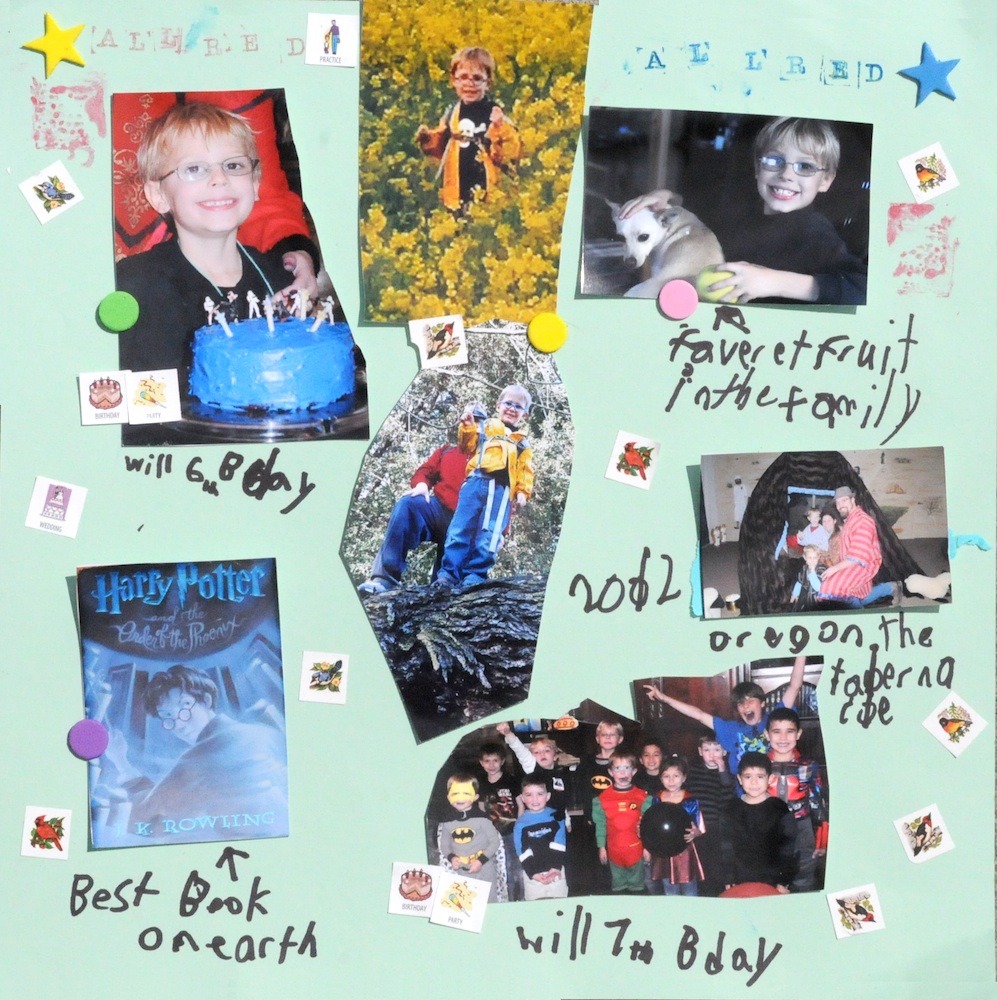
I'm going to admit, I don't love this page. But I had fun experimenting on it. I misted (note the banner top detail) and stamped (the circles) as well as throwing on some colored tapes (many from the Disney collection). These are all things I don't often scrap with with, so I wanted to push myself out of my comfort zone. The result is...SWEET.

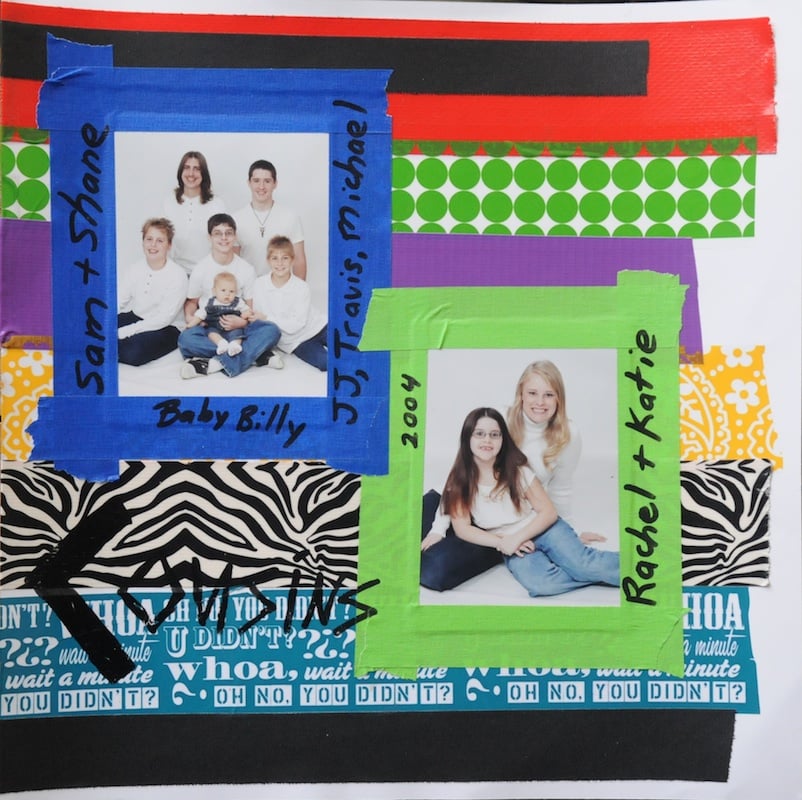
Before I could get my hands on some washi tape, I tried to improvise. That is the mother of invention, no? While at a scrap studio, I had unlimited access to all kinds of duct tape in neat colors. So I used them like strips of pp and tried to have a teen vibe to the page.
See a product that interests you or that even "scares" you a bit. Embrace it and give it a try. You might have fun. If possible, find friends or local scrapbook stores or studios that will allow you to "test" it out before you invest too much money. Some trends are short lived or just not your thing. Others will enhance your scrapbooking bag of tricks and make you an even richer scrapbooker. Knowledge is power. So give it a try.

Thursday, July 12, 2012

Dog Days

FYI- inking a dog's paw to stamp on a layout is a REALLY BAD idea!


1) Haven't figured out how many wet wipes will remove the ink from the dog's paw (20+ and still going)
2) The stamped image just looks messy and odd
3) Dog unhappy
4) Ink pad dropped on ground- staining hard wood
4) Ink pad broke when dropped. Trying to fix lid back on
5) Ruined shirt with ink while trying to fix ink pad


Now just letting the unhappy dog sit on my scrap table while his inky pads dry before he walks all over the house. Poor doggy! I bet he won't wander into my scraproom for awhile.


And just to show you the final results of the not so successful doggy page-


It is what it is. And what it is is done!
Roof!

Thursday, July 5, 2012

Getting crafty in the Kitchen

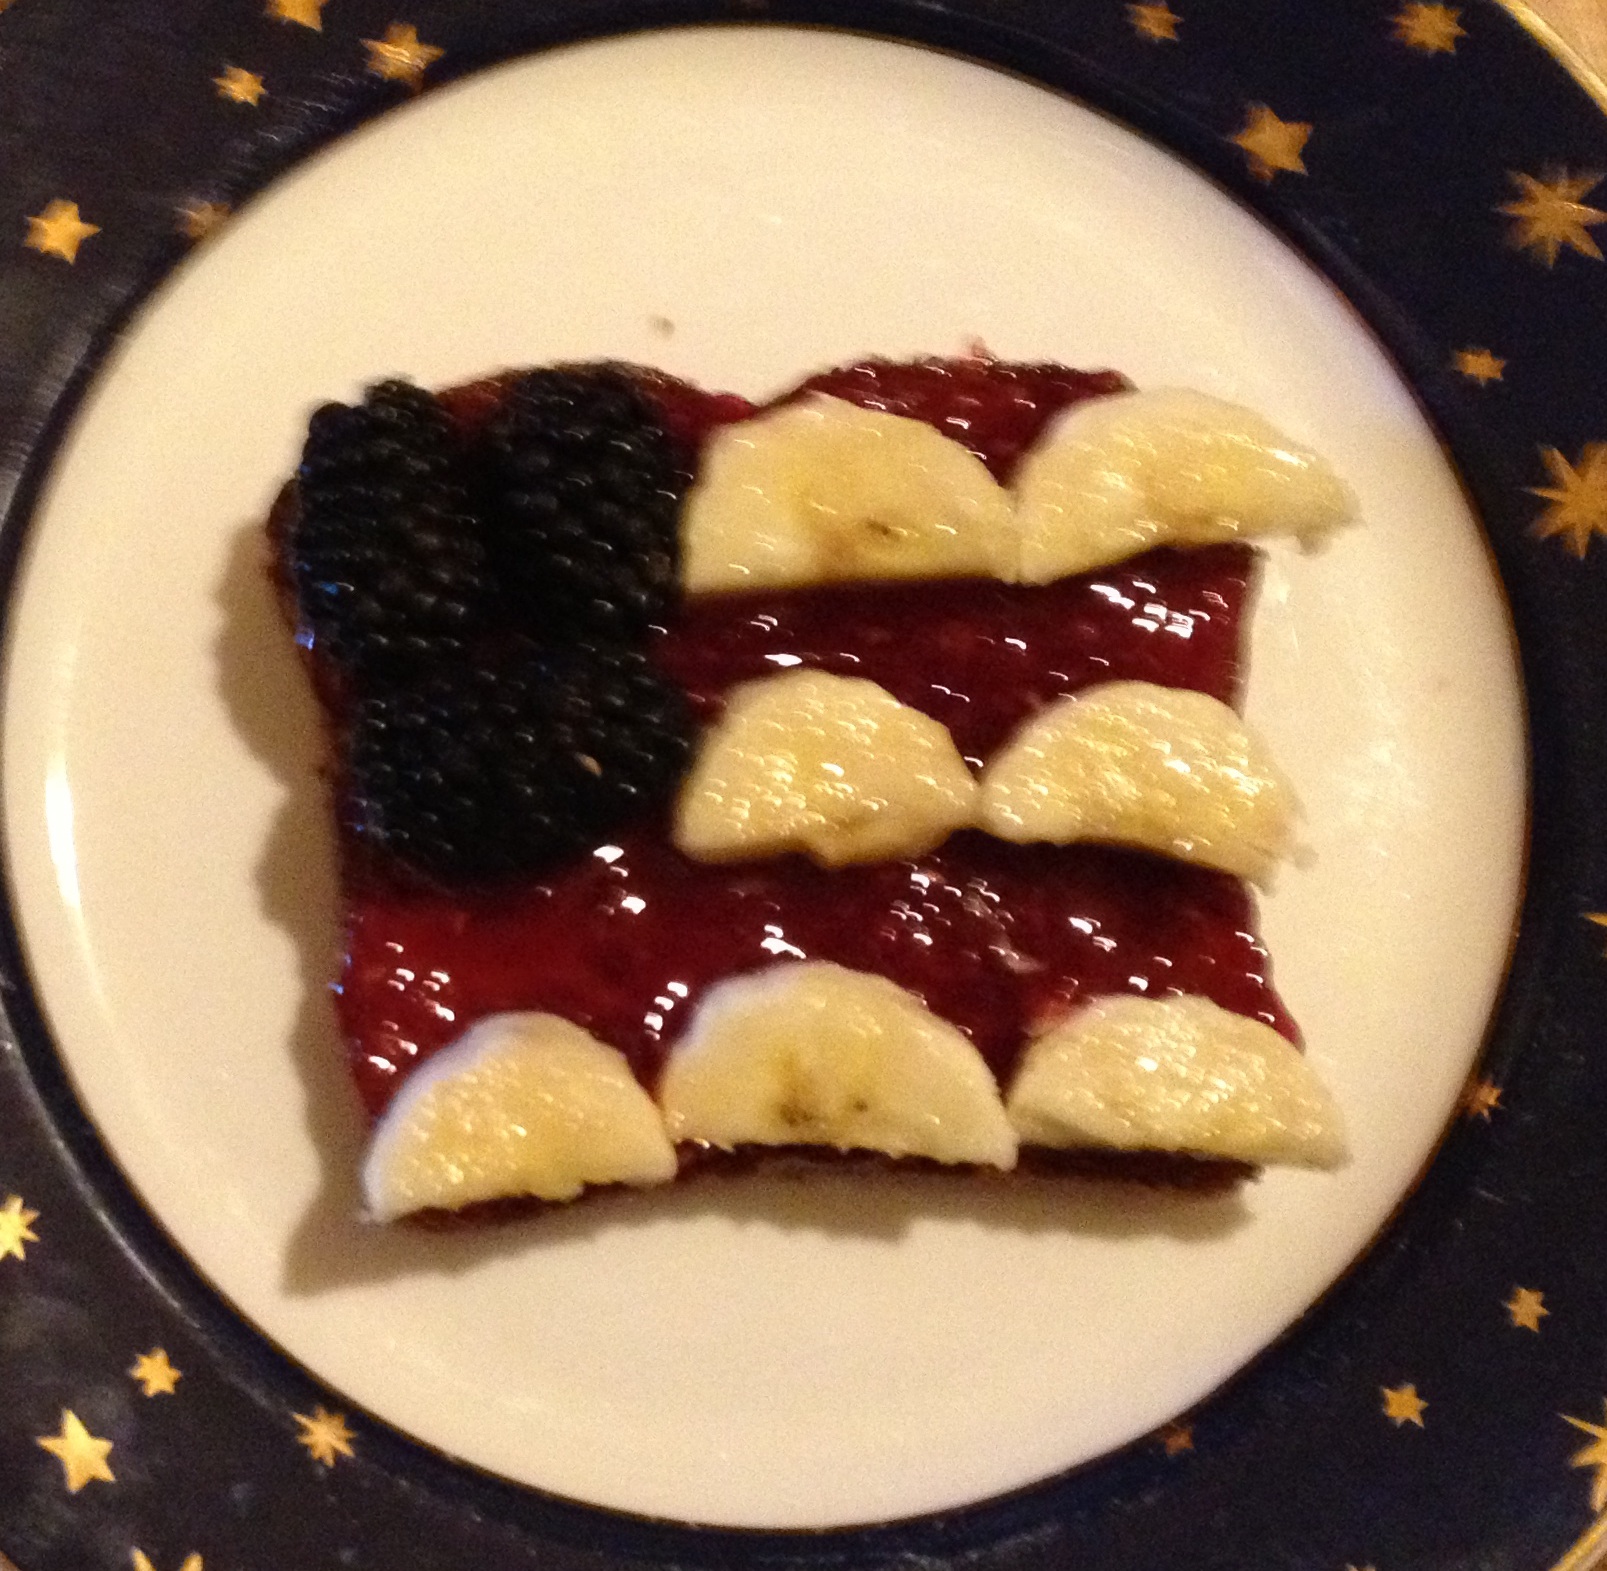
Happy fourth of July. Inspired by Pinterest (oh how I love and hate you)- I made 2 fun items for Independence Day. First I had American Flag toast for my boys for the morning before our neighborhood parade- a tradition around here. Toast with red jam. Then cut banana slices in half and lay on. You can use blue berries or blackberries (as I used here) for the blue square portion. Easy and cute.

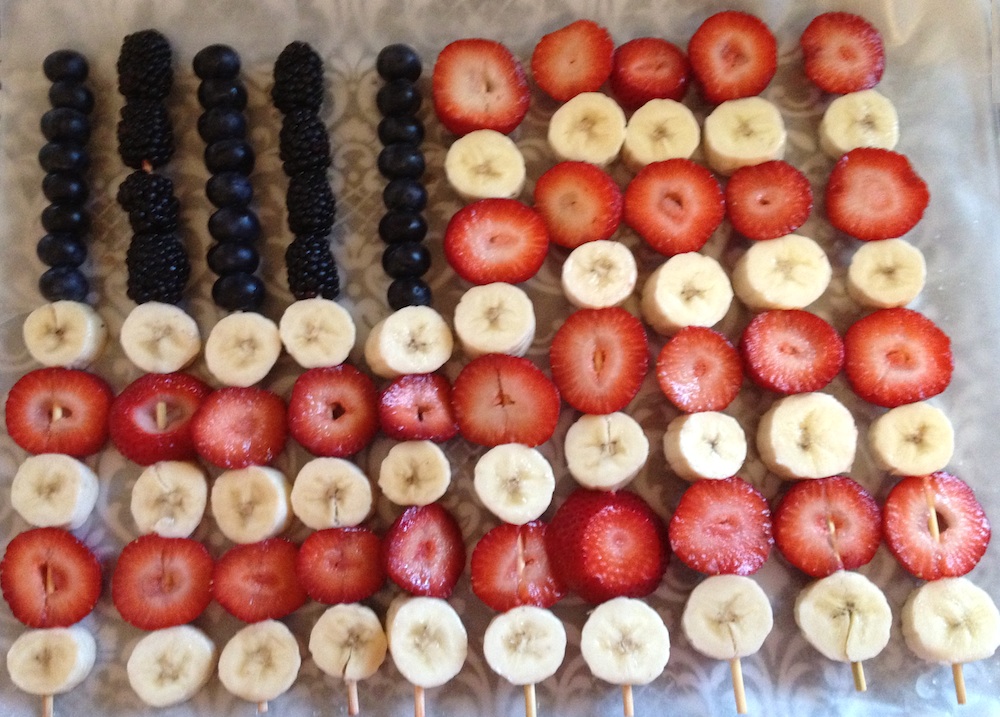
Then I made these fruit skewers into another American Flag for a friend's Bar B Que we attended that afternoon.

Hope you have a happy fourth too!
God Bless America

Thursday, June 21, 2012

Teacher Appreciation

I am so very grateful for my kid's teachers. They put so much energy and love forth. I want to be sure that they know how appreciated and valued they are. In addition, I want to make sure that my children know it is important to say thank you to those people who do so much for them.

Gift #1 is a Crayon Initial inspired by Pinterest. Man you can find some awesome ideas on there. What a great way to share!


The teacher's initial made into crayons and framed. Easy, cheap and cute. I printed out his teacher's name at the bottom and then her initial in large bold font. This served as my guide for cutting into the crayons. At first I thought I could use my son's old, already broken crayons but I found they looked dirty and needed to go and buy some new ones. Easily affordable at the dollar store. Then I used dikes (wire cutters) to snip the crayons into just the right size and hot glued it down. Once complete, I put into a frame and my son presented to his dear teacher. Success!


Gift #2 is also inspired by Pinterest. A pencil vase!

First I took a soup can that I had already used a can opener to take the top off of. I cleaned and dried it well. Then I cut out some felt for the inside bottom and hotglued that inside. I bought some brand new, unsharpened pencils. On the outside, I hotglued the new pencils around the can outside. This actually took more hands then I have, so had to have my husband come over to help. Once done, I hotlued a red ribbon with a bow around the outside.
I didn't want to give her an empty vase so I filled with some bright orange and yellow sunflowers and a giftcard.
In the picture you will see the vase resting on a plastic container. That included some homemade banana cookies we made for her too. Recipe also found on pinterest!

Monday, April 9, 2012

Banner Bandwagon

So a recent trend in scrapbooking is to put banners on a layout. Cute- yes. Overdone- yes. But you know what, will your kids care that you followed a trend in 20 years when they look through your album. So you can take that 2 ways, both ways are do what you want. You really only have you to please. And my choice is to jump on the bandwagon and play around with new trends and see if I like them. If not, no harm. If so, I have a new "go-to" in my bag of tricks.

Banners are so easy and add party to a page.

Here I hand cut some banner shapes from the pp. Then with my crop-a-dile (or any hole punch), I cut holes in them. I strong fiber through and glue dotted the fiber down. I then used a glue stick to stick on the paper banner portion. Lots of added color and fun.

For the next page, I also did the banner but in a more subtle way.
I just cut out random "banner" shapes for the lower right corner - all from random scraps of paper that I have saved in a "scrap" drawer. Then by overlapping and glueing down, I added some interest and color to a corner.

So go forth and try out a trend you see in a magazine, blog or website.
Misting? Distressing? Jewels? Washi Tape? New techniques and new products can add new life to not only one page but your whole creative process.

Thursday, February 23, 2012

ARTsy Fartsy

If you have kids, you have kids' artwork.
Kids love to create. And they don't want you to throw any of it away. I try to show them that I value their work and their creativity by including their art in THEIR pages. Because for me, the real goal of a scrapbook page is for my children to have a recorded record of their life and my love for them.

Here are some ways I've used their artwork. I hope it inspires you to also take their art and work with it or showcase it in your scrapbook pages.

Flat Logan

On this page I included 2 pieces of Logan's art.
First is a drawing that he drew on a piece of 8.5"x11" paper. I cut off the white edges that were empty so that it would fit better onto my page and allow for more room for scrapbook goodies.
Second, take a picture of your child holding artwork that is 3-Dimensional or too large to fit onto a scrapbook page. By including your child in the photo, it "dates" it at a glance and personalizes it too.

Random drawings

Again, just random drawings my son did. I silhouette cut them so that more would fit on a page. Here are mixed media- water colors, marker, pen, and pencil. But the focus is on his artwork because it is HIS album.

S is for Seashore

This artwork is more subtle but still there. I wanted a playful, random grouping of beachy items. In the random embellies, I added 3 stamped seahorse images my son made in art class. Adding something personal and handmade to a page makes it his own. Will he remember in 20 years that he made those stamped images? Probably not. Will I remember? I hope so.

Preschool Book Pocket

My son's preschool teacher gave us a book of his artwork progress throughout the school year. What a treasure to look back on later. So I left the book as is and created a scrapbook page with a large pocket to hold this gem. Now he can pull it out and look whenever he wants. What a kick it will be when he's 17 or even 37 years old! And it is still scrapbook sized for his 12x12 album.

William, 1st grade

For my son's first grade open house, he made this "self portrait" with a few random facts about himself. When I got to take it home, I couldn't wait to scrap it- still using the yellows and greens that he used and then adding playful touches like a name tag, some mini school pics (that I had extra) and a stitched on folded paper strip with tissue flower. Jazzy, no?

Their own thing

And whether or not your child is the next Monet, encourage him or her to do a scrapbook page with your leftover stickers, pictures, inks, etc. You might be surprised what they focus on.

Wednesday, September 21, 2011

Ribbon flowers

Want to make some ribbon flowers?


Supplies you need:
-Alene's Quick Dry Tacky Glue
-Creative memories circle punch (though you can free hand cut these as well)
- scissors
- scrap cardstock- coordinating color with ribbon
- Maya Road Trim Collection - Organza Roses Ribbon - Small - Turquoise - 1 Yard
- Pink Paislee - House of Three - Parisian Anthology Collection - Ribbon - Ruffled Darlings Strips


Let's go!
1- punch out circles of the cardstock. Best to use the same color as the ribbon you select incase any peaks through.
These will just be the base, so you can freehand cut them as well. I used the 1.5" circle cutter from Creative Memories.


2- Cut apart the organza roses to make centers. Cut off any excess fringe


3- Cut ruffled ribbon into approximately 6 inch strips.


4- Put glue in a ring around the outside of the circle.


5- Adhere ruffled ribbon to glue, leaving center empty.


6- Put glue in center and adhere previously cut center rosette.


7- if you buy enough supplies, you make loads of these!
Swap them. Put some on your own layouts and cards. RAK them.
Enjoy!