Friday, June 20, 2014

New Moxxie Muses- Blog Hop


Hello Moxxie fans!  We have a special treat for you today!

Come and hop along with me to all the new MOXXIE Muses.
It involves tons of inspiration and A PRIZE!!!


As many of you know we started this month with a new design team and we are loving all of their fantastic projects and awesome inspiration. So much in fact, that we thought it would be fun to get to know them just a little bit better with a Blog Hop!

You will see a wide variety of styles and projects and hopefully get to know each of our team members just a little bit better.

Here is mine: Paradise Beach. 
This page is so me! It features those I love most, my hubby and two sons spending time at a beautiful beach in sunny California where I live. I used the Moxxie Line- Beach Bum. I love every single paper in this line. When I started, I planned to use tons of papers but then I found the Surf's Up paper. It is gorgeous and one paper alone has everything you need. Great distressed edging, cool border along the bottom and awesome birds in flight. Sometimes the paper is so fabulous, there is no need for more. This paper is exactly that! 


I matted the pic with the orange from Beach BumTo add texture, I used a stencil and some modeling paste to put diamonds under the bottom right of the photo. Next, I tore up left over tissue paper in yellow and white and mode podged it around the lower left corner. The more lumpy bumpy, the better. Then I used the PERFECT Beach Double-sided Diecut overlapped over the photo for part of the title and added some real shells. A touch of bling saying beach completes the look. 


Here is the list of blogs. 
If you get lost along the way just head back to the MOXXIE blog to find the next blog.


Amelia- http://fancifulcreations.blogspot.com/2014/06/moxxie-meet-new-muses-blog-hop.html 
Amy (me!)- http://allamyleigh.blogspot.com/2014/06/new-moxxie-muses-blog-hop.html   
Daniella- http://daniellahayes.blogspot.com/2014/06/meet-new-muses-blog-hop.html
Jen T- http://jentscrappysideofme.blogspot.com/2014/06/meet-new-muses-blog-hop.html
Joan- http://joan-discoveries.blogspot.com/
Julie- http://www.jkmdesigns.org/julie/
Lesliehttp://lrosecreations.blogspot.com/
Renee- http://www.scrapowl.com/meetmoxxiemuses
Samantha- http://taylorstamped.blogspot.com/2014/06/moxxie-down-on-farm-layout.html
Wendi- http://scrappydayinparadise.blogspot.com/2014/06/moxxie-muse-blog-hop.html
Rebecca- http://byondbzr.blogspot.com/2014/06/meet-new-muses-blog-hop.html
Ange- http://scrappingcompulsion.blogspot.com/2014/06/blog-hop-with-new-muses.html


Rules of the hop:
- Visit each designers blog and leave a comment. The more you comment, the more chances you have to WIN
- After you've been to all the blogs head back to the Moxxie blog and leave a comment letting us know you hopped.
- Go to our the MOXXIE facebook page and share the post about this hop for another chance to WIN! (if you're not already, you will need to be a follower of our page to do this) Come back here and leave another comment letting us know you did this.
- Go ahead and Pin It! If you do, leave a comment with a link to it letting us know that you Pinned!
- International players are more than welcome to play but you will be responsible for shipping.


That is a LOT of chances to WIN! Now you may be wondering what it is that you will win. That is the best part! You get to pick one Moxxie line of your choosing!!
Winner will be announced on July 1st.

Now go, comment, share and enter to win this awesome prize while being inspired by our wonderful designers! Hip Hop Skippity Bop. 

Thursday, June 19, 2014

Moxxie, Mist and Modeling Paste for Miss Alicia

Although I grew up in a house full of sisters, my little family now is mostly boys- one hubby and two sons. So my scrapbook pages which prominently feature them also showcase a masculine slant. But when I get a chance to go girly, I really like to layer it on.

My cousin Alicia is graduating from High School this year. What a lovely young lady. Look at those eyes! I scrapped this page for her mom. When I saw the beautiful green of the grass contrasted with the grey of her sweater, it inspired me to use MOXXIE Paws 'n Claws also in grey and green. Now that paper line is all about cats and dogs you say? Well look how sophisticated the line is when you dress it up with a few flowers. Not a pet in sight. Plus the argyle reminded me of a school girl print, just right for a school girl.


First I wanted to bring the boldness of contrast with some black and white onto the page- so I used the Heidi Swapp Circle Lattice Spray Stencil. First I sprayed black mist on Catnip paper which looks like a school girl argyle, perfect for a pic of a school girl. Then I spread white modeling paste in opposite corners of the Tangled paper. Now when spreading the modeling paste, I wasn't concerned about perfection or trying to stay perfectly in the lines. This is scrapbooking- enjoy. Get messy. Just go for it.

Then for the flower and button clusters. I included felt and card stock flowers, paper flowers, lace flowers, hand crocheted flowers and even a resin flower. The mix of textures on the flowers adds extra interest. Add some fun buttons and I have a bouquet of beauty balanced on opposite sides. The Kitty Stickers include alphas that I used to title the page with her lovely name. I'm partial to that last name of Silverthorn, since it is my maiden name.

The thing to take away from this page is even if there is a strong theme to a page, you can always customize it and make it your own. Add a bit of mixed media or layer on embellishments and it is what you make it. Oh course, starting with a great base like Moxxie helps too.

Thursday, June 12, 2014

Midway Madness

Moxxie’s “Midway Madness” line is full of youthful joy. The colors exude excitement and the patterns invite you to play. I made this amusement park page intentionally busy and a bit chaotic in line with the chaos and joy of the day. 

Good Times @ Boardwalk

Banners have been all the rage in scrapbooking and Moxxie puts a bright banner on their “Which Way” paper. I emphasized the banner here by cutting some extra pennants and pop dotting them. Adding some red and white twine to the banner top was another colorful addition. Because I wanted to showoff the banner on the top right and the direction pole on the bottom left of the page, I tilted all my pictures to accommodate and made it even more lively. I love it when the paper leads the way to making the page even better. Building on the banner theme, I used the “Midway Maddness” cardstock sticker that says RIDES already cut into another pennant. 


The “Midway Madness” die cut GOOD TIMES! made for the perfect title. Adding just a touch of hand doodled outline (both in white and black) to more die cuts further played up the fun theme and gave me a place for a sub-title and date. My rule of thumb- you may not be inspired to journal deep thoughts onto every page and that is okay. But the scrapbooking police insist you write names, dates and location. For me, even 6 months later and those details are all a blur unless I write them on the page. 

Those blue straws are something I’ve seen others do and wanted to try. They suggest a warm summer day along with kids at play, so they were a perfect addition to this already fun line. All the straws started out the same length so I just snipped them to varying degrees and glued them down. For me, that extra little “something something” makes my page smile. 


Hope this Moxxie “Midway Madness” page made you smile too.

Monday, May 26, 2014

Get gelli with it

Have you tried Gelli Plating? As a frugal scrapper, I don't want to invest a ton of money into the "next" big thing of scrapping. I don't own a die cutting machine or an embossing machine or tons of stamps. When a new "thing" comes out, I try it out instead of diving in.

So when my friend Sonia bought a gelli plate and invited me over to play, I went with hesitation. Now I can't get enough. We use the cheap acrylic paint (less and $1 bottle at Michael's), a brayer and a gelli plate from gelliarts.com. For paper, we often use the white B side of paper that we hoarded and now no longer like. (Reduce, reuse, recycle!!)In addition- we add masks/templates to get cool designs and mists to add more color.

Usually when creating, I just start mixing colors that call to me, with no photo or page in mind.
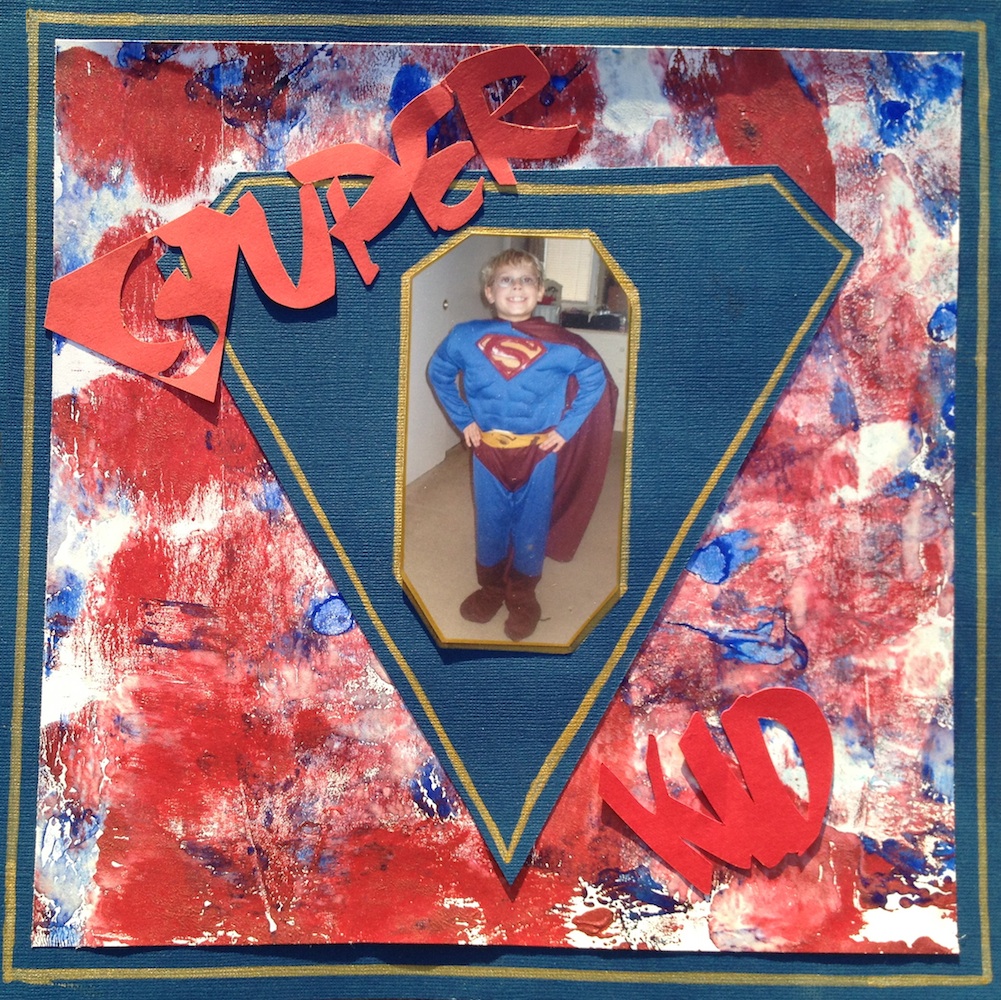
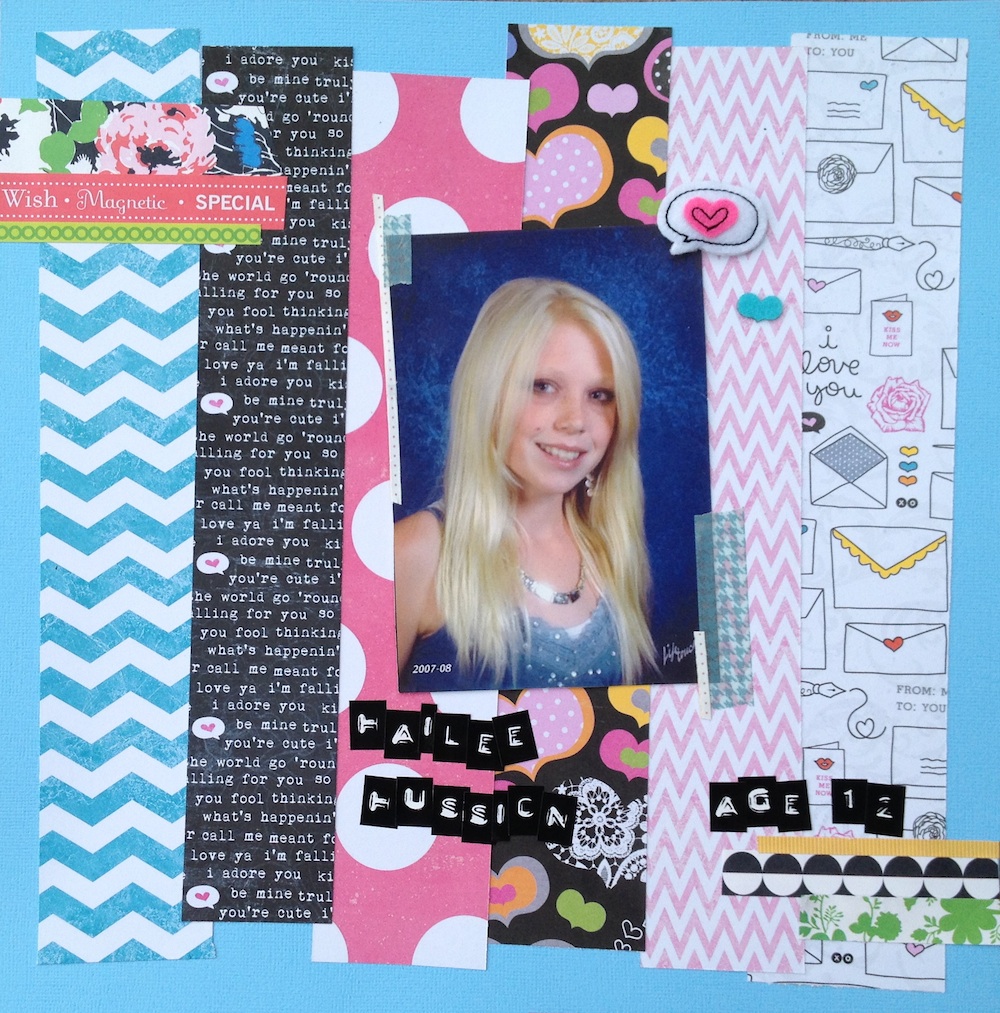
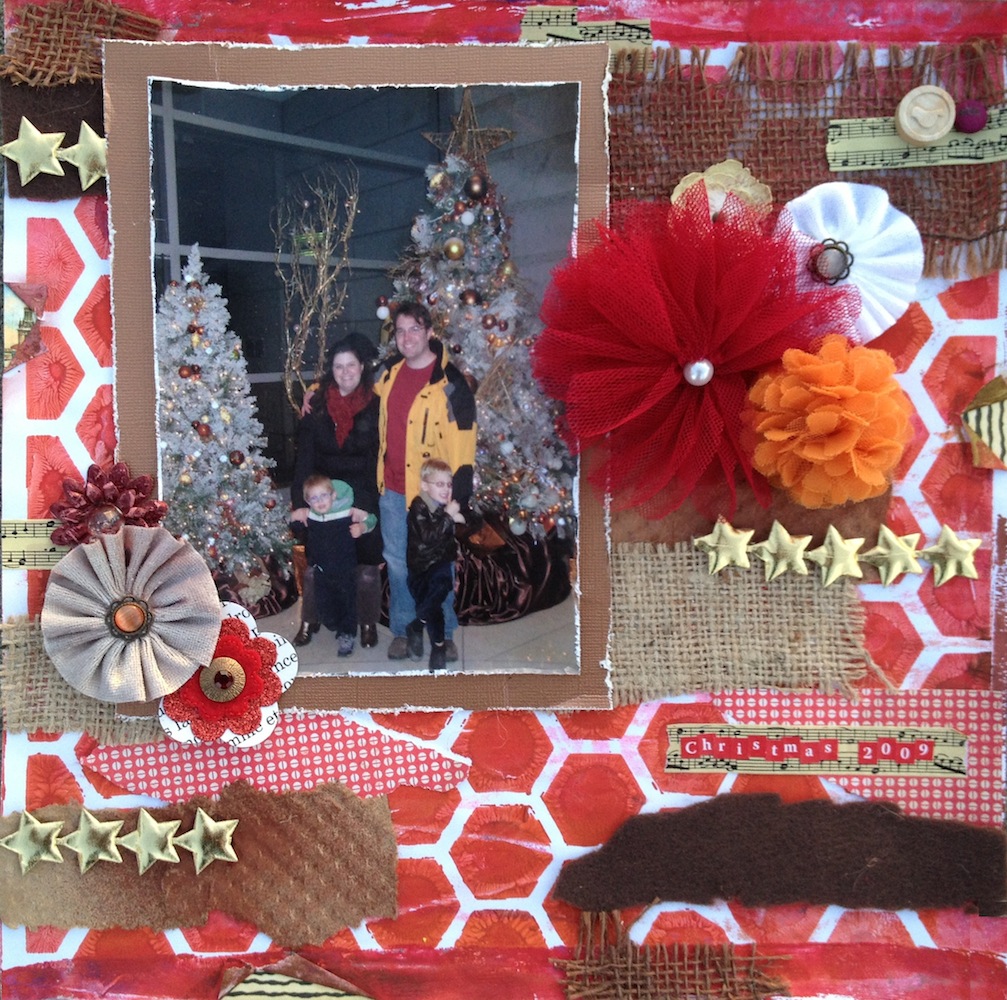
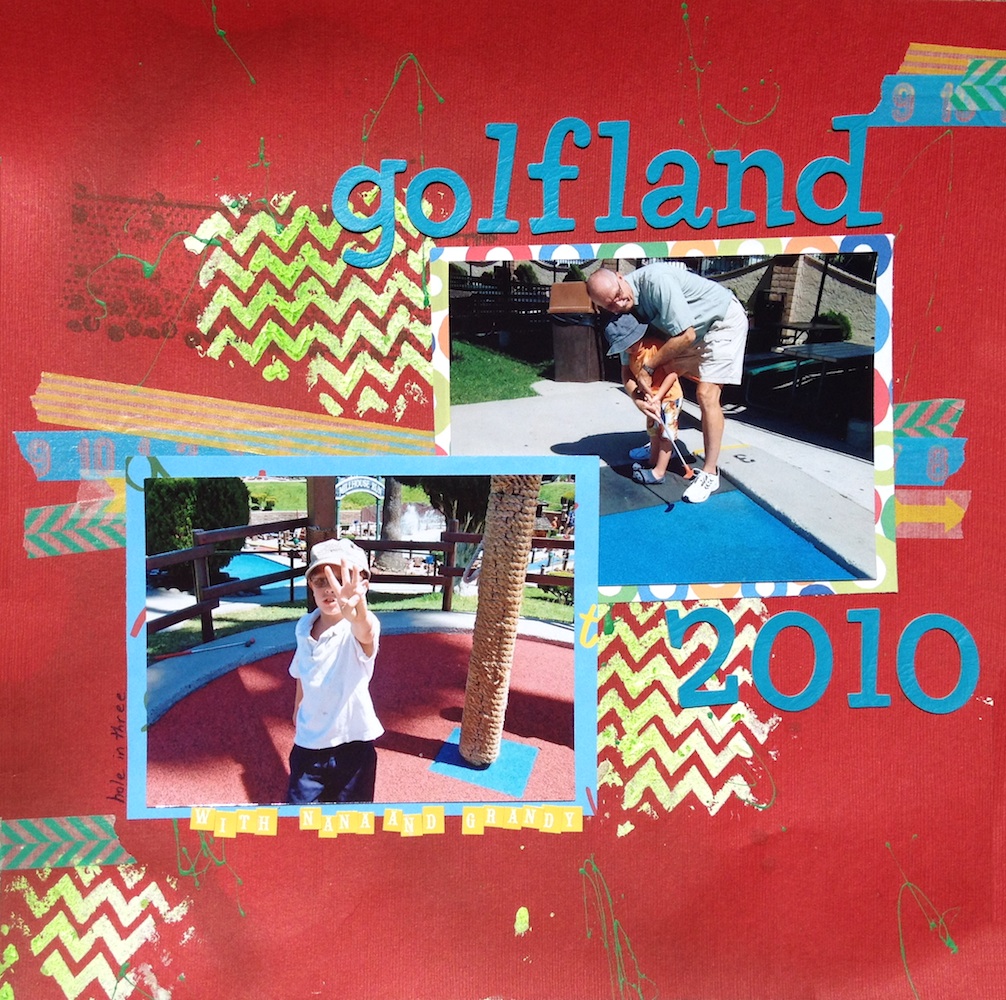
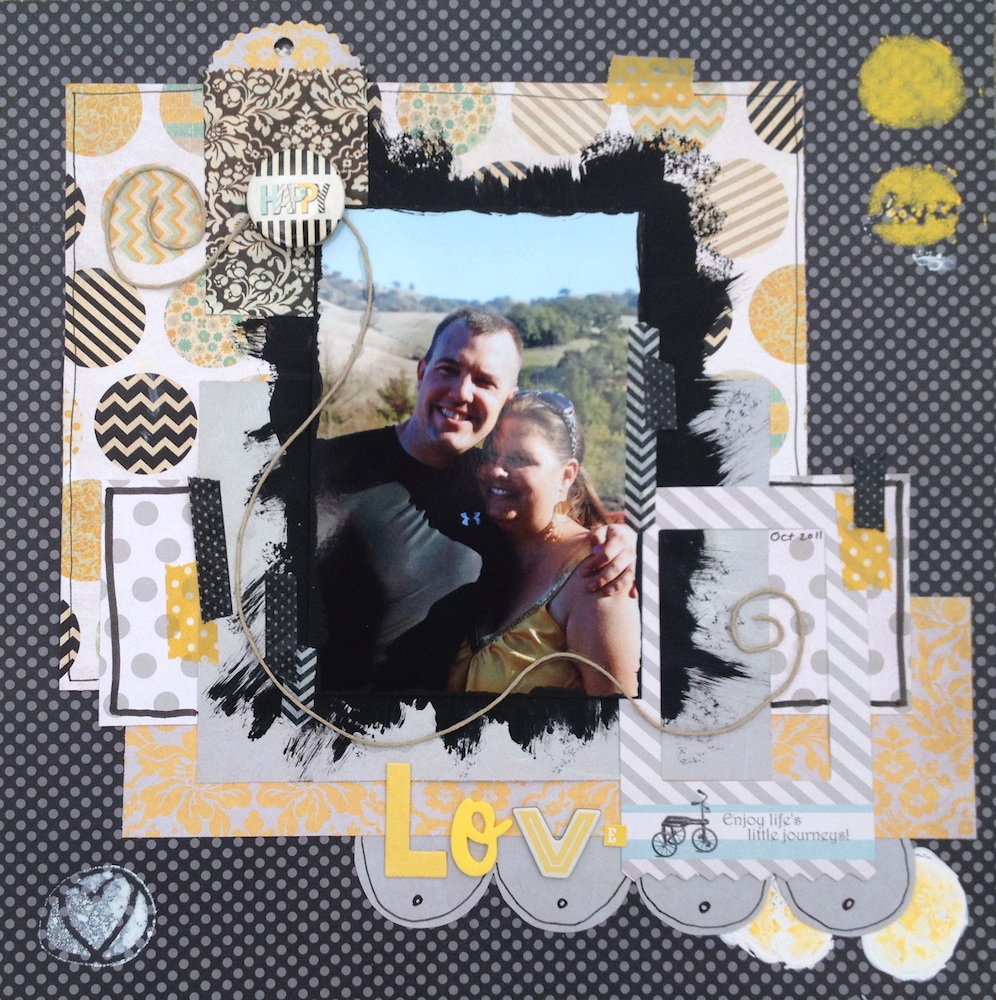
Here are some the the papers I made turned into scrapbook pages. There was no rhyme or reason to the colors or design as I painted, brayed/rolled, lifted, added more paint and lifted again.


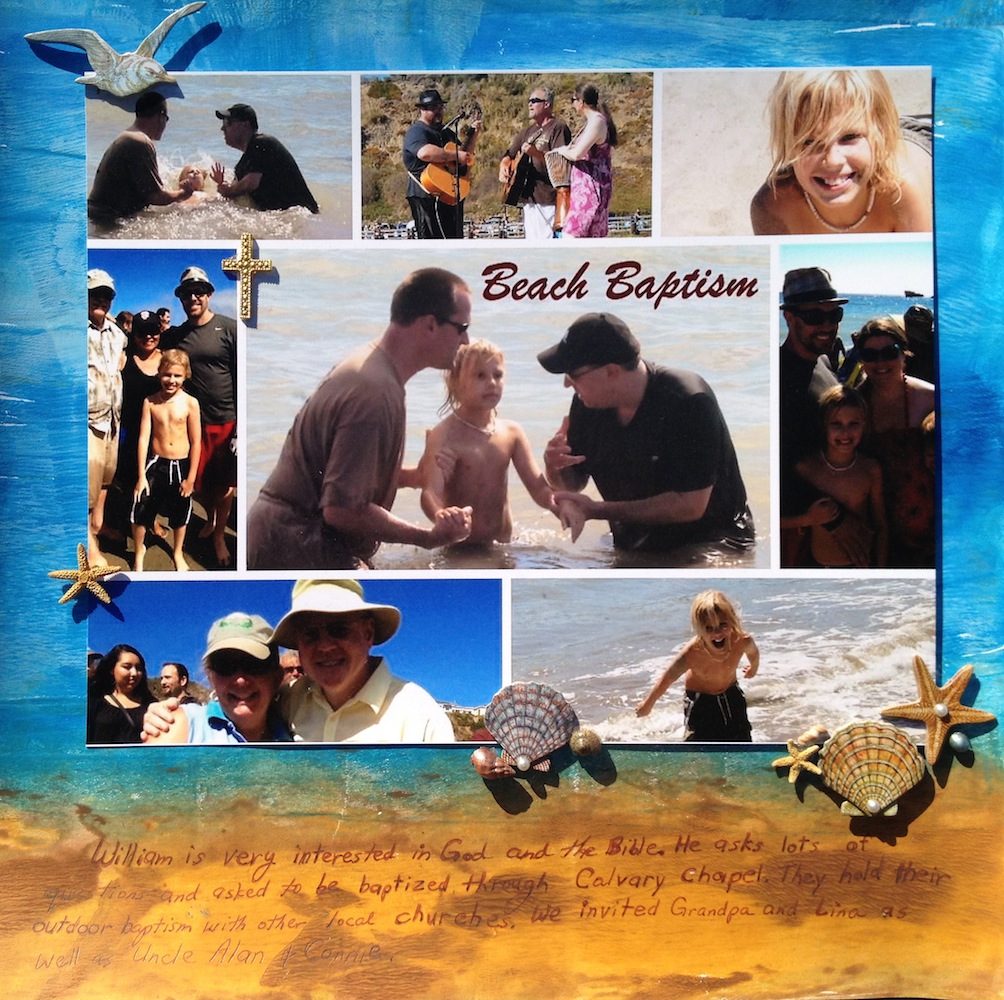
This page I specifically selected to colors to look like the beach, since I was running low on beach themed paper. So I made my own. I LOVED how it turned out! This is just various paint and a brayer on gelli. I let the sandy colors mix with the blues to look like the horizon.


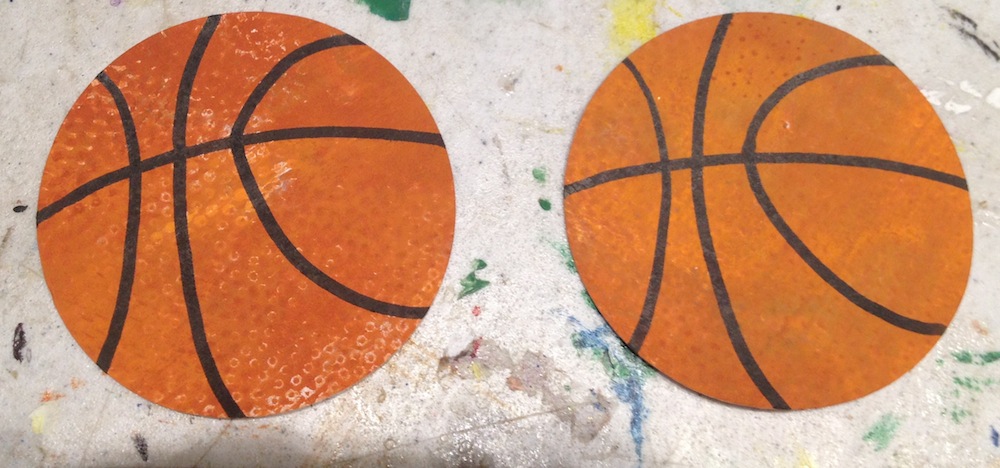
In a swap I participated in, I needed some additional "sports" embellishments. I had seen at Big Lots some dimpled orange paper but when I went back for it, it was gone. So I used yellow, orange and brown for a base, then used a circle stamp over for that dimple look. After I circle cut with my old trusty Creative Memories circle cutter, I hand draw black lines to make it look like a basketball.


This I did intend for a general "nature" page. I used leafy colors like green, yellow and brown. You can even see the subtle stamping of leaves on the background.


The new thing I did with the starburst paper here was to use preprinted paper. Instead of using the white side of a paper I no longer wanted, I found a paper with a white background and very subtle pink strips. But gelli printing a mix of yellow over this print, you could still see touches of the strips seeping through. I then used a template and green mist to get the rays. 

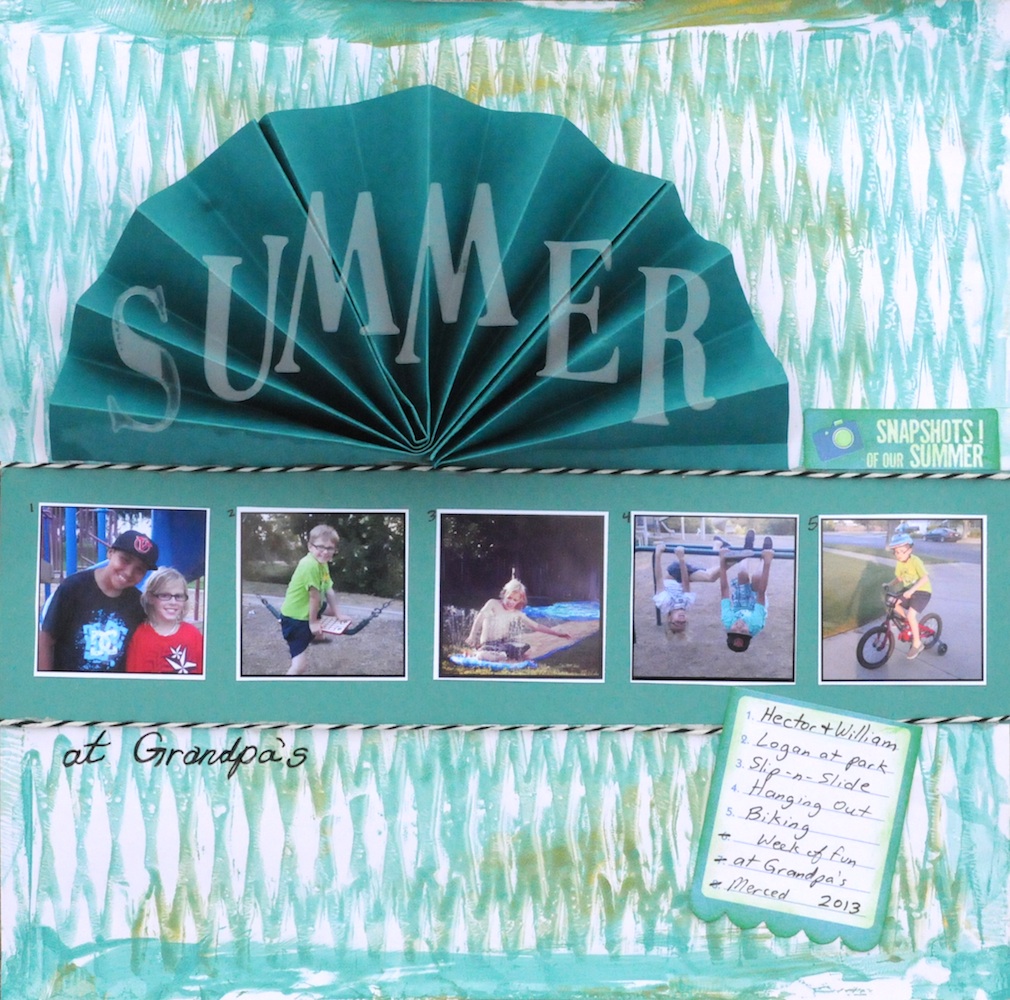
These next two pages came from the same paint. The first was just the swim paper with green and blue. Then I added a template over and lifted the excess paint from between the template openings to get the paper on the summer page. 


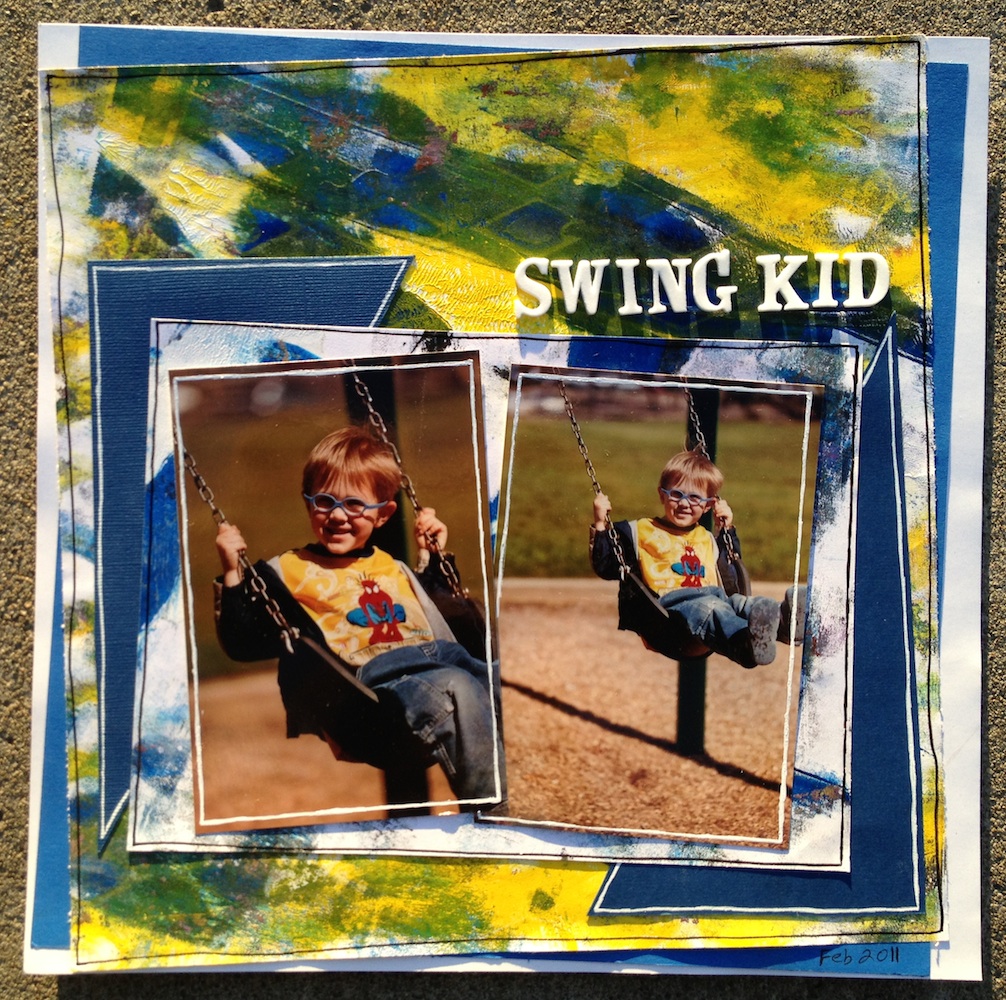
This blue and yellow paper was a bit busy after I gelli'ed it. As was the red and blue.  I found some pictures that coordinated and made it work. 

I like the natural look of the teal and blue and green paper along the bottoms but only had one piece. I wanted it for a 2 page spread. By using it only on the lower half of the page, I was able to get gelli goodness across 2 pages. 


Now get your gelli on and show me what you can do.


Monday, May 19, 2014

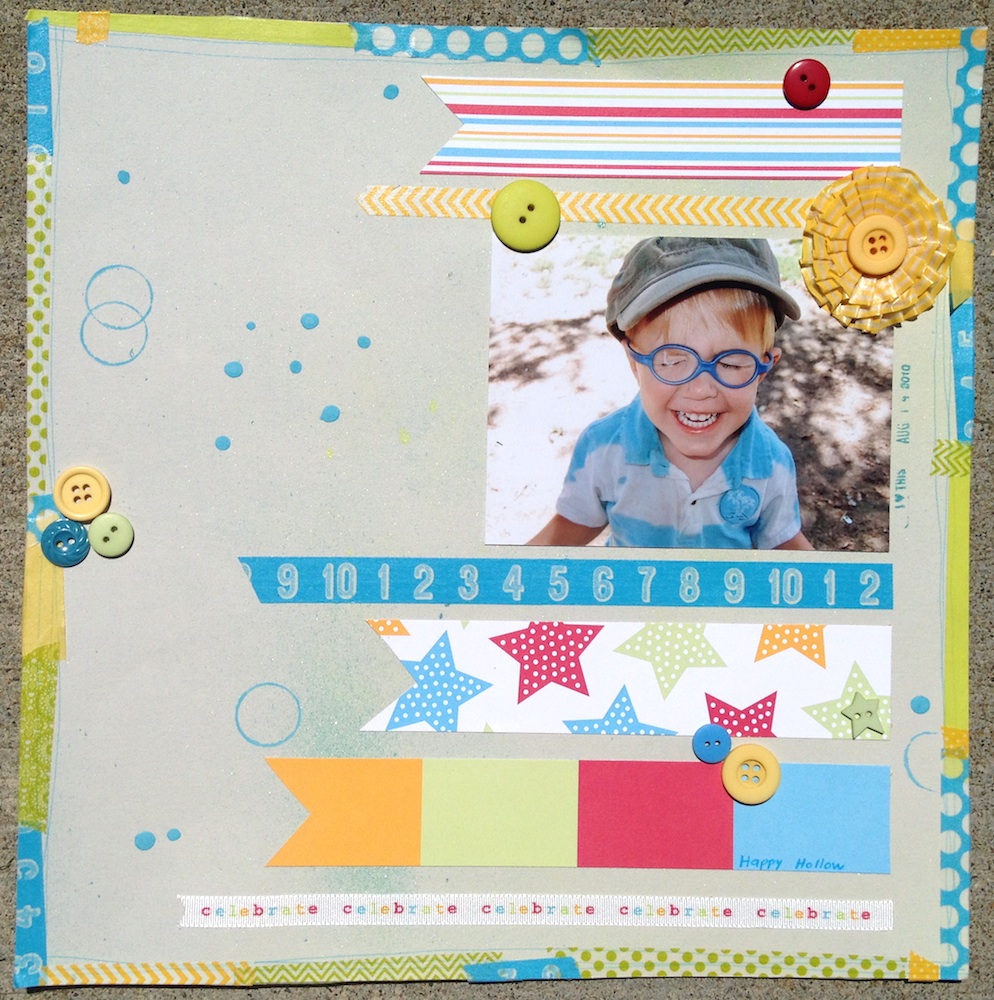
Washi Tape overload

So a bit over a year ago, I got turned onto washi tape. It is like masking tape, inspired by a Japanese trend with pretty colors and graphics. It is easy to use and just transparent enough (sometimes) to add an extra dimension.

So I bought some. And my friend Mindy showed me how to "store" my wash on a rope to hang. They can be used as jewelry at crops too. ;) Ok, maybe that's just us. Here is a page of Mindy wearing her washi that Rebecca scrapbooked. I love the idea so I had to make my own "necklace" of washi.
http://byondbzr.blogspot.com


Well I'm a practical gal. If I have something, I want to use it so went exploring on ways to play with Washi on scrapbook pages. Here are ideas I found and what I created with it.


Arrows (along bottom of page)


Diecut - lay strips of washi on flat paper and die cut into shape like my hearts here


Flower -I made the page but Mindy (photographed above) made the washi flower as a gift to me


folded washi strip


Little flags (on toothpicks). Could use as a flag on a paperclip too. 


Layered corner embellishment strips
Layered corner embellishment strips again, this time mixed with strips of paper


Clean strips


Layered, messy strips


Photo corners


Ruffle (fold and pleat)


Journal strips


Create own background


Little tears as accents here and there


"Tape" or secure pictures to page


Frame the page


or frame a photo


or frame a row of photos to give that film strip look


torn, multi-strip border -use a variety of small torn pieces around border of page. Either all the way around like the colorful page or just in places in the light green Spring Hike page below


Create separation


12" border across entire page


Create a banner (more time consuming then I thought)


And so many more ideas I have yet to try:
Make rays with washi
Bows
cover brads
use washi strips UNDER a die cut for inverse look
use strips to create a Christmas tree or bday/wedding cake
Anchor photos to the page along a strip of washi

Now get out your WASHI and be inspired!

Friday, May 9, 2014

Well yes, I do "got" Moxxie!

Guess who is one of the newest members of the Moxxie Muses? Yep, you guessed it. Little old me.
Check out their paper line at http://www.gotmoxxie.com & http://gotmoxxie.typepad.com


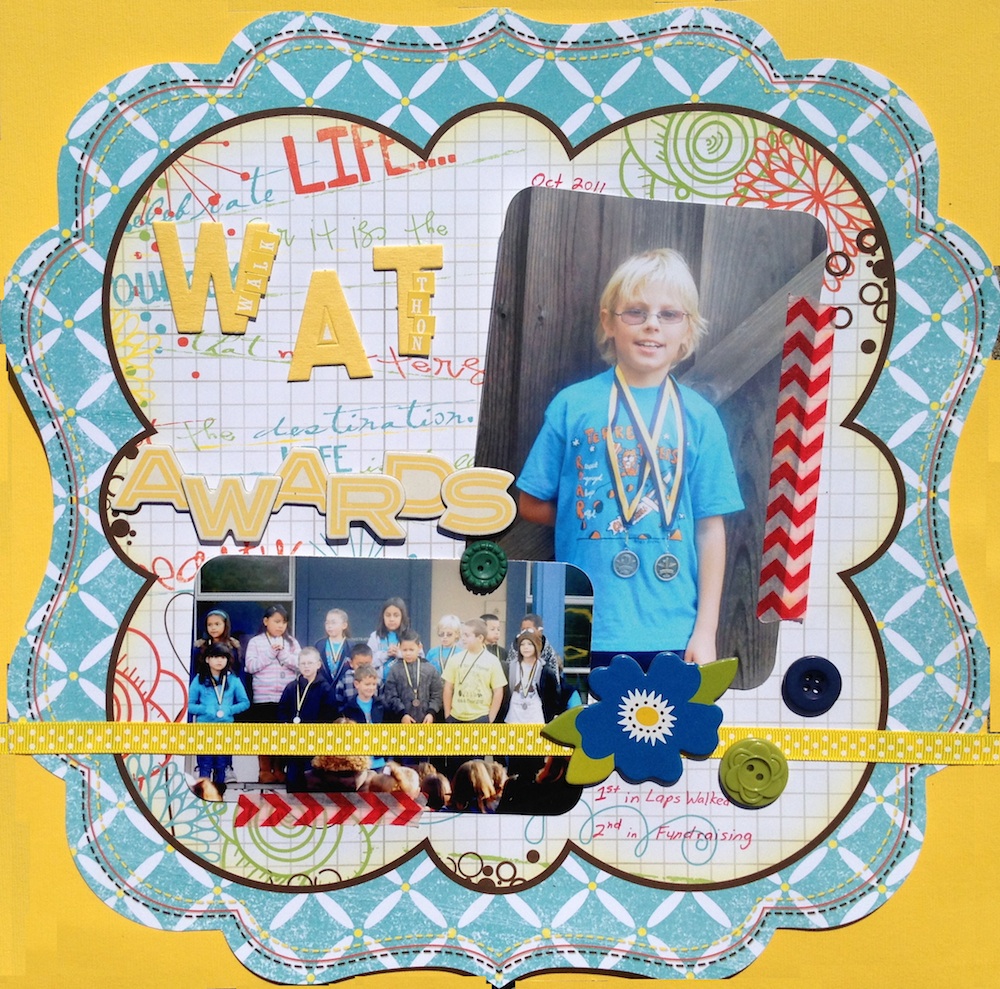
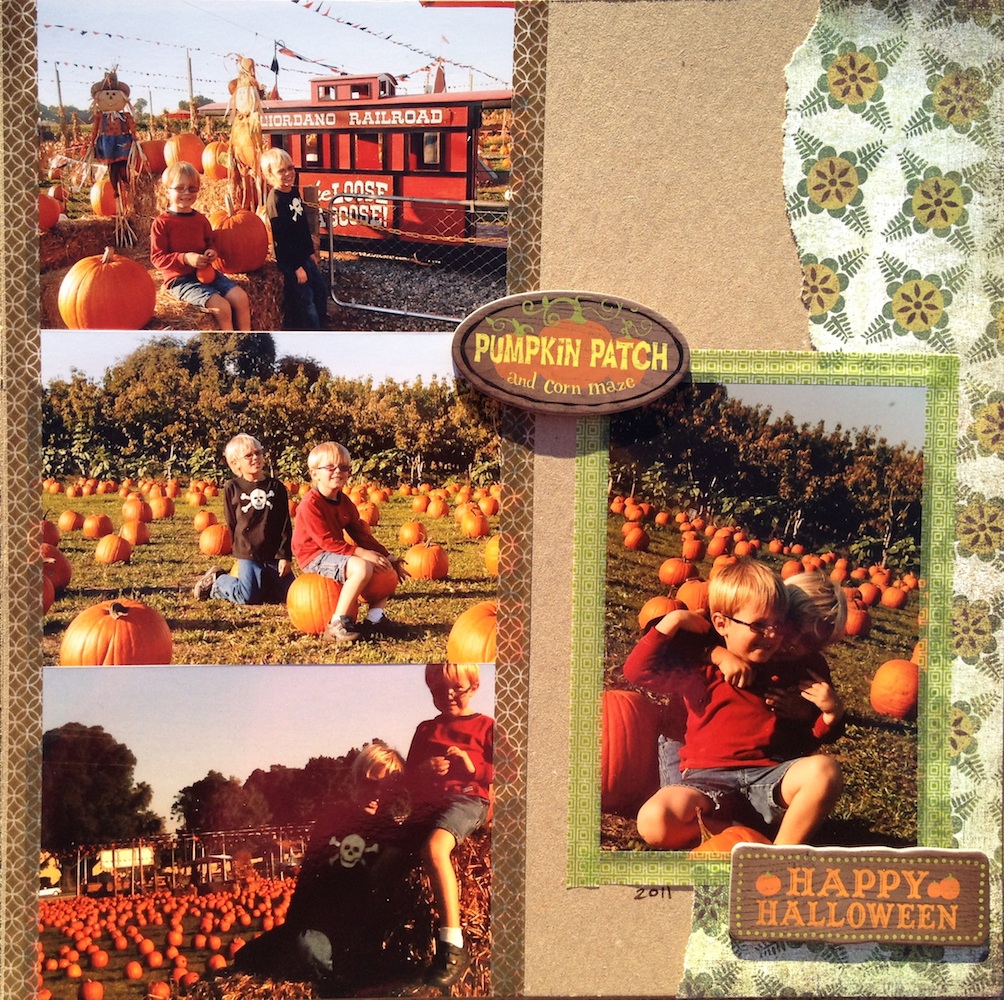
So I haven't had a chance to play with their papers much yet, but that is about to change. As for now, this little oldies will have to hold you over. Both pages use Moxxie's Martial Arts line. Both pages use rub ons as well as paper. I love how the B&W looks strong against the bold red background or page one. These are my nephews and niece- all who went on to earn black belts. Impressive! The next page is my son in a Karate class. He loved wrestling a game of speed where they had to battle an instructor with a pool noodle. 

On both pages, I used the Honor paper in strips behind the photo to allow just enough to peek through without overwhelming the photos. 
 More Moxxie coming soon!


Monday, May 5, 2014

Easter Egg DYE it


Dying eggs with the kiddos and I thought, I can work with this.
After the eggs where done, I had all this left over water with dye in it. 
What to do? What to do? 

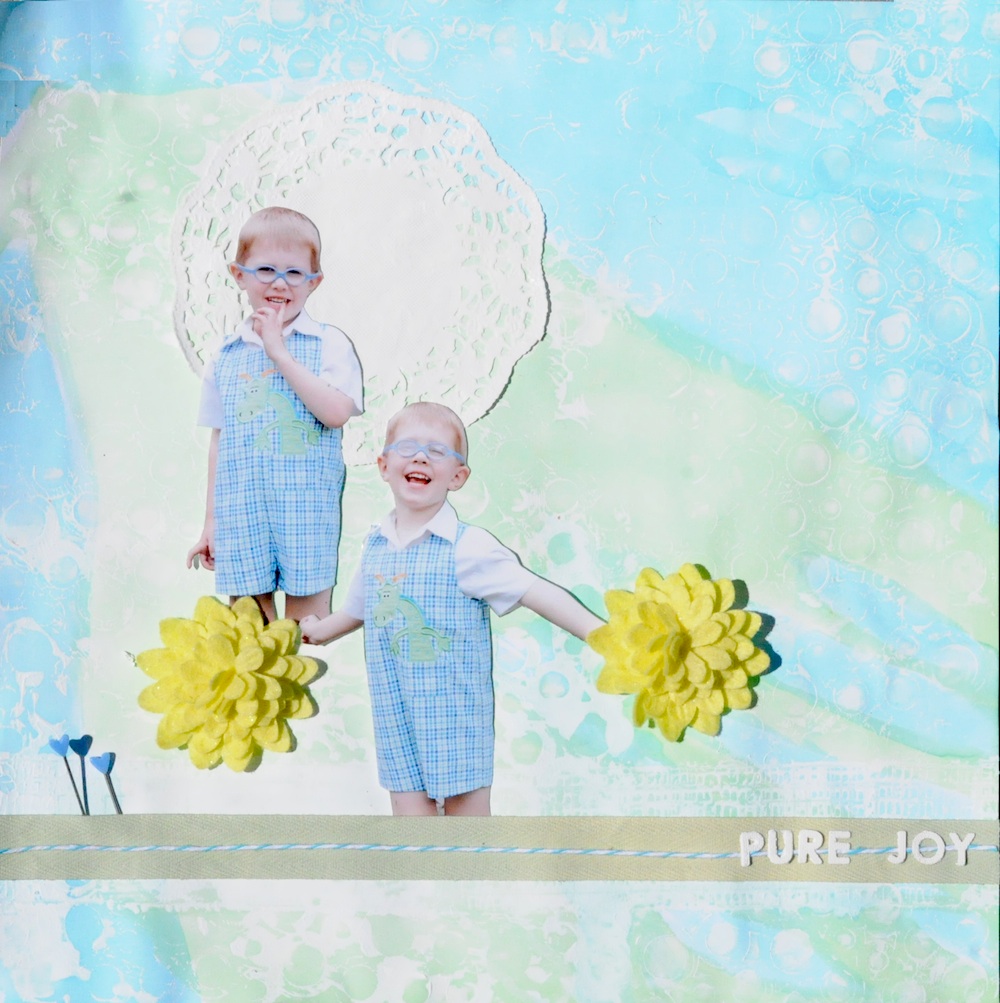
For this background, I used gesso moldering paste and stencils to create some pattern and texture on white paper. After I let it dry, I then poured my blue and green egg dyes over. I had to let it dry again. After drying, I had to press the paper under books to get it to lie flat. But once I had created my background, I didn't want to cover it up. So I silhouette cut my son (on Easter from a previous year) and added some ribbon, twine, flowers, doily and stick pins. A small title and I had "PURE JOY."

Here's another using that same left over blue egg dye. I simply got a cheap paint brush and quickly slopped on some blue lines on white paper. Made for a fun background of pictures from a previous Easter of hubby and sonny boy. 

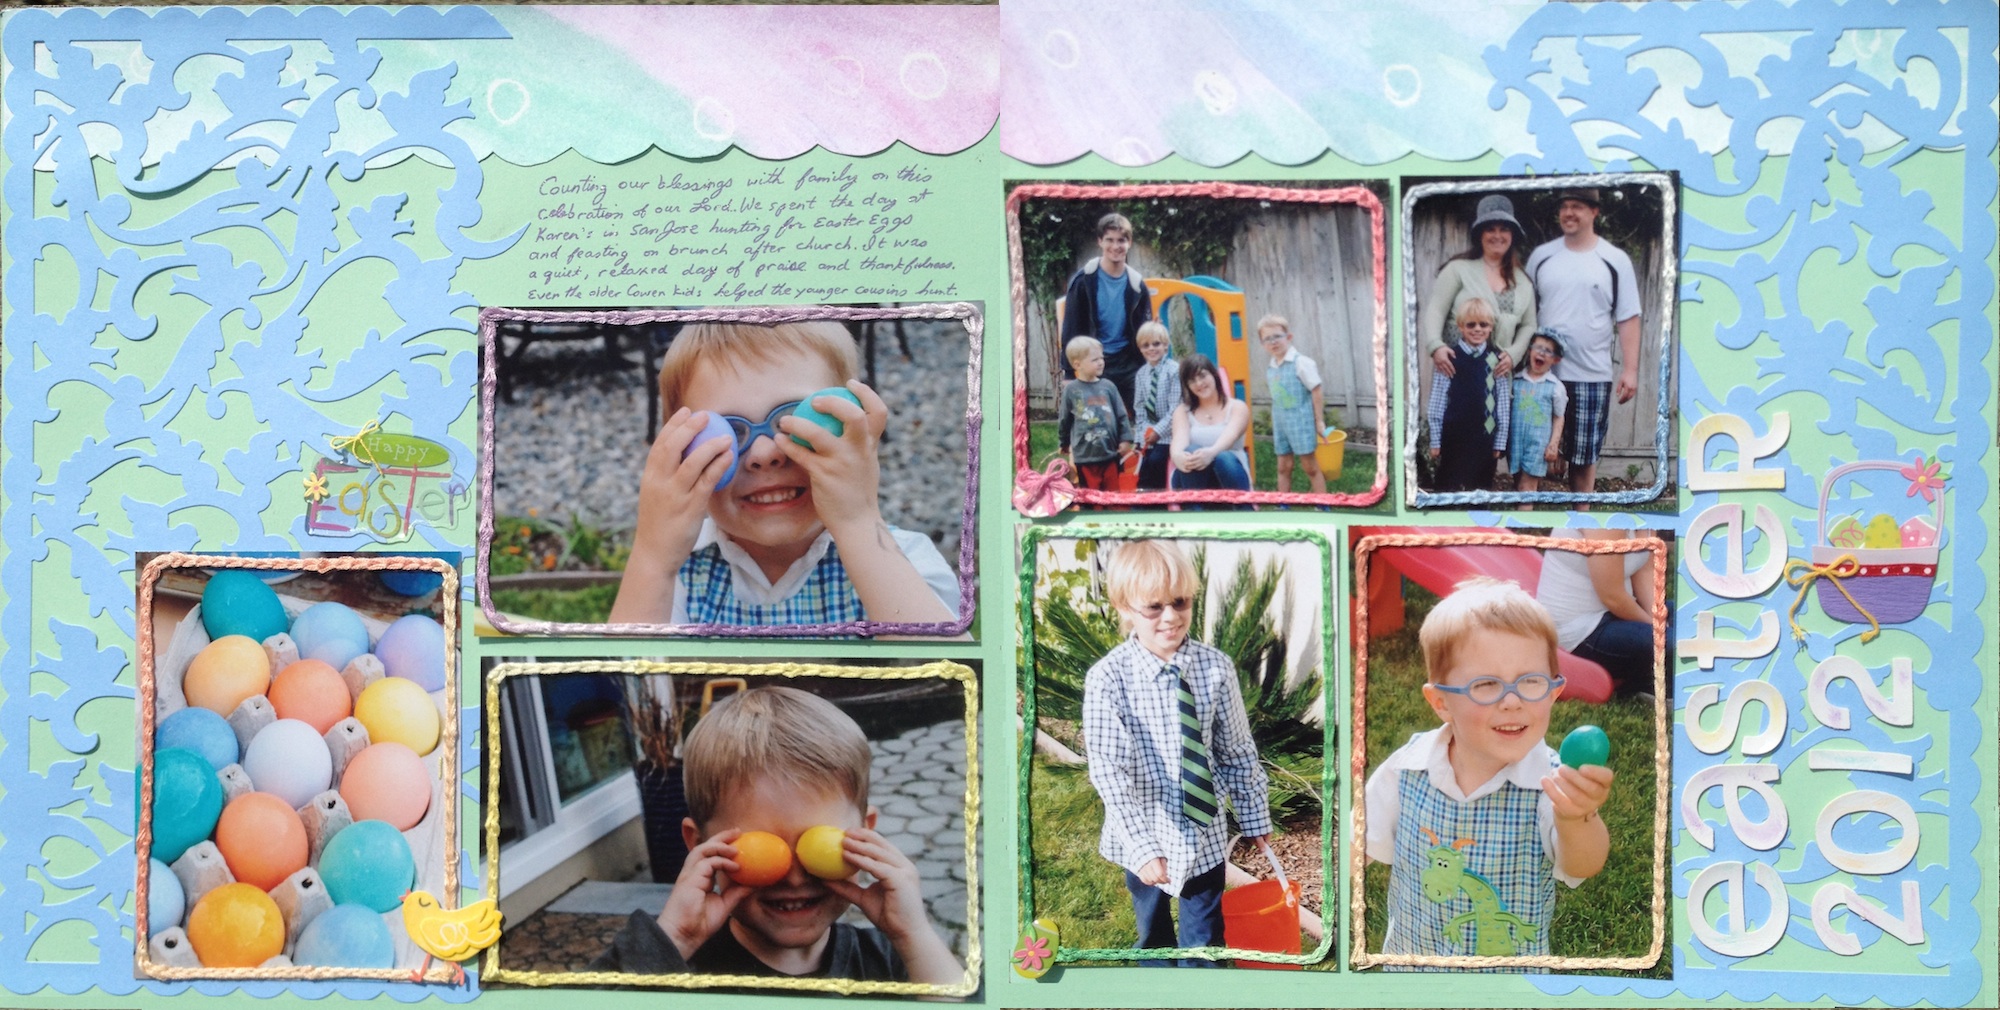
This Easter page used just a touch of watercolored paper at the top. Just like on my eggs, I used a white crayon to draw circles before painting. I scallop cut it and it made a sweet accent for more Easter photos. 
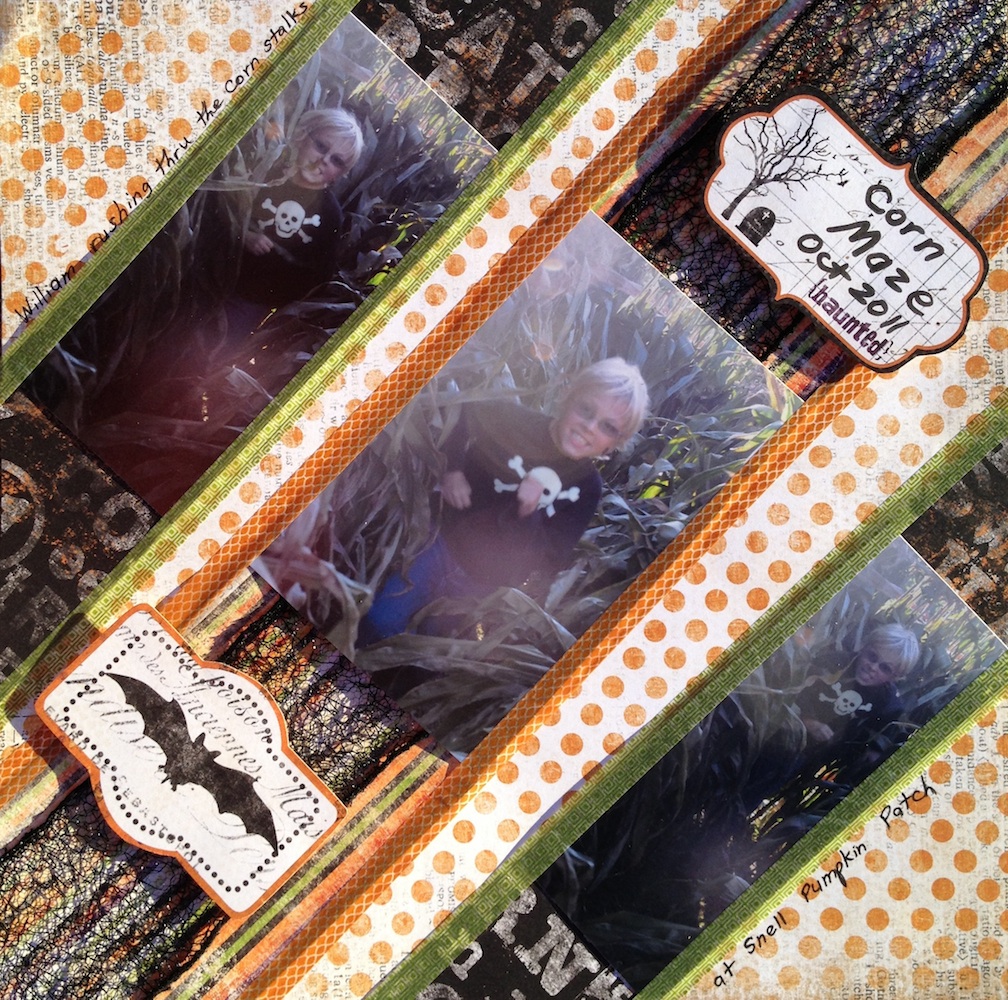
Now you don't have to use the Easter Egg dyed paper on Easter pics, it just worked that way for me. 

I'd love to see if I've inspired anyone to do this. Post your work!